How Do We Dry a Water Heater Leak?
9/16/2022 (Permalink)
Many of our customers have little to no experience when it comes to mitigation. We get many questions everyday about how we do what we do. In an effort to pull back the curtain on our process, we’re going to detail one of our recent jobs in this blog post.
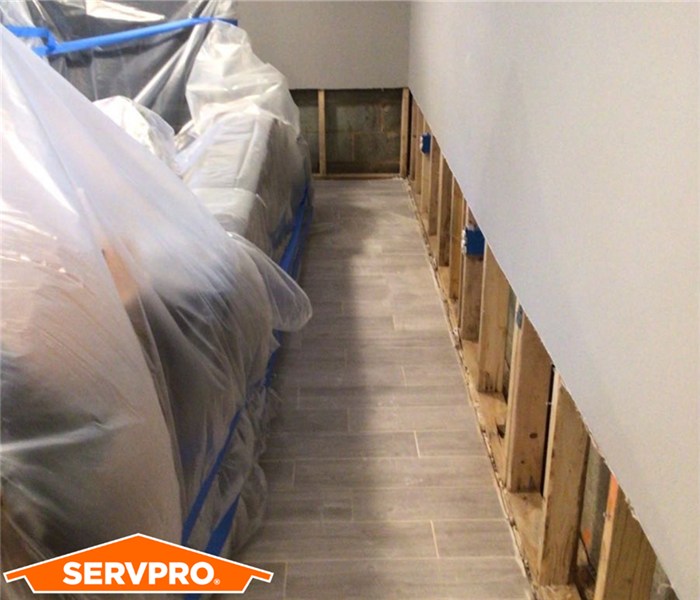
In this particular case, a water heater on the first level of a house had a major leak that pretty much affected the entire floor. Luckily, the owners had installed water resistant floor tiles, so the floor didn’t retain any of the water. The drywall, however, was not so lucky. Using our moisture meters, our Production Technicians found substantial moisture readings behind the walls. The readings were high enough to require us to make a two-foot flood cut in almost every wall.
A flood cut removes the bottom two feet of drywall, not just to remove irreparable damage, but also to allow us to aim our air movers and dehumidifiers directly behind the wall. When done right, this ensures all potential moisture is removed and no pesky mold forms. Once we were able to completely dry all the walls, our Construction Team went in and replaced all the cut-out drywall and baseboards. Then we matched the paint job, so all of the rooms looked just as they did before the leak.
Hopefully, this helps you understand some of the steps we take to mitigate your water damage. It’s one of the many ways we make any disaster “like it never even happened!”


 24/7 Emergency Service
